DTF transfers open a world of high-quality personalization for crafters and small businesses, delivering vibrant, durable designs across a wide range of fabrics. If you’re starting from scratch, a solid grasp of tools, supplies, and a beginner-friendly setup, including DTF transfer setup for beginners, can save you time, money, and frustration while you experiment with direct-to-film techniques. This guide highlights essential DTF printing supplies, the right DTF printing tools, and a simple transfer workflow you can follow to produce professional results quickly. Key steps cover organized space, safe handling of powders, and a repeatable setup process you can replicate as you scale. Whether you test on cotton tees or blends, the goal is consistent bonding, bright color, and durable results that build buyer confidence in your brand.
In practical terms, DTF transfers are a film-based method that prints vibrant designs onto a special substrate, then uses an adhesive powder and heat to embed the image into fabrics. From an optimization standpoint, you can think of it as direct-to-film printing, film-to-fabric transfer, or bonded-powder processes that suit lightweight tees, hoodies, and blends. LSI-friendly terms include direct-to-film printing supplies, workflow efficiency for beginners, and DTF transfer troubleshooting steps that help you refine color, adhesion, and durability. As you grow, you will explore advanced formulations, different textiles, and predictable testing protocols that reduce waste and shorten the learning curve. Overall, the combination of reliable DTF transfer equipment, careful powder timing, and a clear transfer plan positions you to scale from hobby projects to small-batch production.
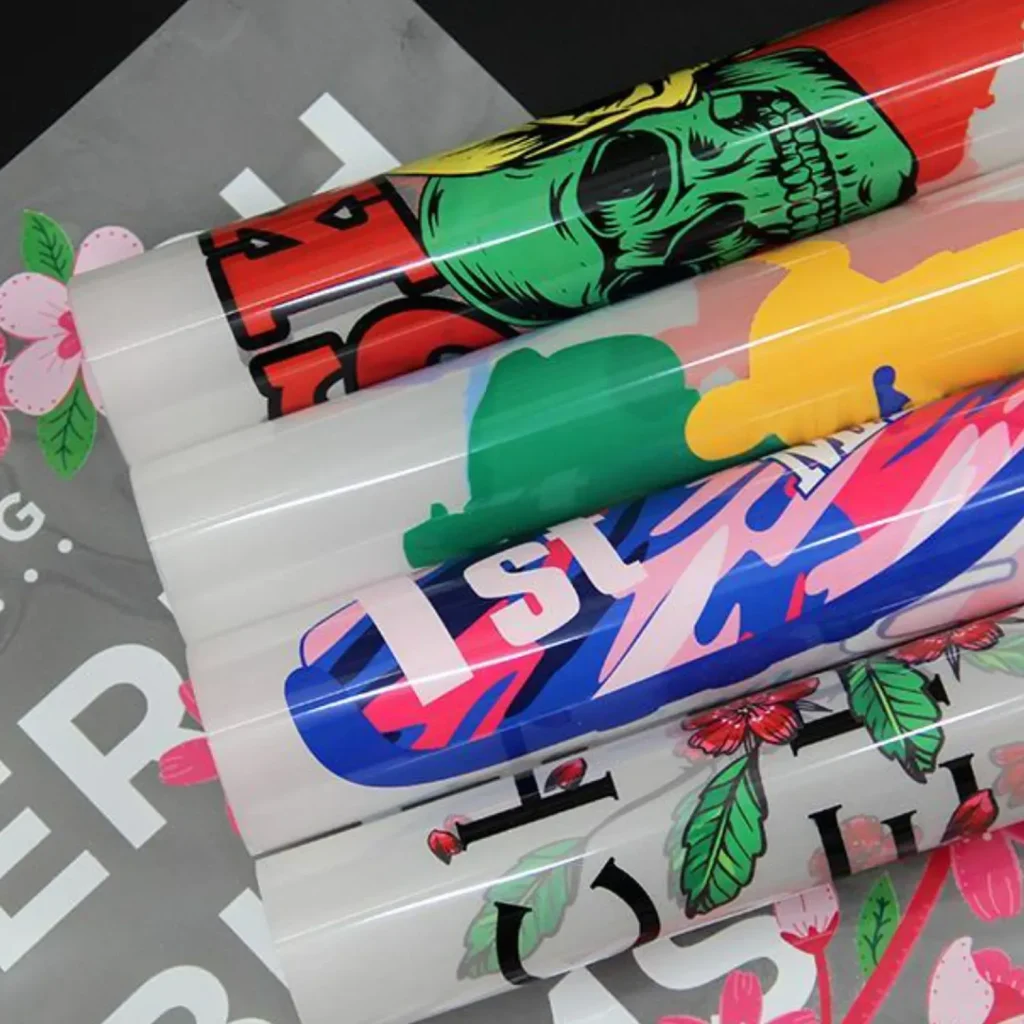
DTF transfers Essentials: Tools, Printing Supplies, and a Beginner-Friendly Setup
DTF transfers open a straightforward path from concept to finished garment. Starting here, the essential toolkit centers on DTF printing supplies, reliable DTF printing tools, and a small but capable kit that includes a printer with white ink, transfer film, and a heat press. For beginners, focus on a core setup: a printer that can produce a clean white underbase, a set of compatible films, and the powders needed for the adhesive bond. Understanding these elements helps you predict results and manage expectations as you learn the DTF workflow.
Selecting the right DTF printing supplies and tools matters for consistency and quality. Pair your printer with the correct white underbase, color inks, and curing powders, and add basic accessories like a powder shaker, PET release sheets, and silicone sheets. With a stable baseline, you can practice the transfer process and gradually expand into more advanced materials and finishes while keeping costs under control.
Setting Up a Beginner-Friendly DTF Transfer Workspace
Setting up a beginner-friendly DTF transfer workspace starts with environment and layout. Choose a clean, dust-free area to minimize specks on prints, and designate it exclusively for DTF work when possible. Controlling temperature and humidity helps powder adhesion and film performance, while proper ventilation keeps fumes manageable during curing.
Organize for efficiency with a logical flow: printer, powders, films, and heat press arranged in sequence. Use labeled containers, protected surfaces, and a small workstation dedicated to calibration tasks such as color checks and temperature verification. A well-planned workspace reduces mistakes and speeds up your learning curve in DTF transfer work.
Step-by-Step DTF Transfer Setup for Beginners
Before you start the step-by-step process, confirm your setup and color profiles. In Step-by-step DTF Transfer Setup for Beginners, keeping a consistent workflow is key to repeatable results. Ensure your printer is configured for DTF film printing, including white underbase settings and compatible inks.
Print a test image on the DTF film, dust the image with precise amount of adhesive powder, and cure it before applying the transfer to fabric. After curing, align the garment and perform the transfer pressing with appropriate temperature and time. The goal is a clean bond and a smooth finish, so take notes on any variations and adjust your parameters for the next run.
DTF Transfer Troubleshooting: Common Issues and Solutions
Common issues include poor adhesion, misalignment, and ink color bleed. For each problem, use a simple troubleshooting loop: verify curing is complete, check powder thickness, and confirm heat press temperature and pressure match the recommendations. Keeping alignment marks visible on both the film and garment helps prevent drift during press.
Try small test runs on scrap fabrics to isolate variables and avoid wasting materials. Recheck the white underbase coverage, confirm the film is clean, and test different powder amounts to dial in bonding. When issues persist, consult manufacturer guidelines and document the outcomes to guide future transfers.
Maximizing Results: Color Management, Tools, and Best Practices for Durable DTF Transfers
To achieve vibrant, durable designs, invest in precise color management and reliable DTF printing supplies. Calibrate your printer regularly, use stable color profiles, and keep white underbase and pigment inks well matched to your film. Pair these practices with quality DTF printing tools and consistent powder application to improve color accuracy and opacity on dark fabrics.
Alongside equipment, maintain a reproducible workflow by documenting settings, testing new films and powders on swatches, and keeping an organized archive of results. Engage with the DTF community, learn from others, and steadily expand your toolkit with safe practices and ongoing maintenance to protect your investments and extend transfer durability.
Frequently Asked Questions
What are DTF transfers and what essential DTF printing supplies do I need to get started?
DTF transfers involve printing a design onto a specialized film, applying a bonding/curing powder, and transferring the image to fabric with heat. To begin, stock essential DTF printing supplies: a DTF printer or converter with white ink, DTF transfer film, white underbase and color inks, adhesive and curing powders, a powder shaker, a heat press, PET release sheets, cleaning supplies, a small scale, blank garments, and PPE. This setup helps you test color, adhesion, and fabric compatibility before scaling.
How is a DTF transfer setup for beginners different from other transfer methods, and what DTF printing tools are essential?
A DTF transfer setup for beginners emphasizes a clean, repeatable workflow focused on powders, film, and heat pressing rather than vinyl or sublimation processes. Essential DTF printing tools include a printer or converter kit with white ink, DTF transfer film and PET release sheets, white underbase and color inks, adhesive and curing powders, a powder shaker, a heat press, silicone sheets, and PPE.
What are the key steps in the DTF transfer process, and how can you troubleshoot common issues with DTF transfers?
Core steps are: design and printer setup with correct profiles, printing on DTF film, powder application and curing, pre-pressing the garment, transfer pressing at the right temperature and time, and post-press cooling and removal. For DTF transfer troubleshooting, check bonding by confirming proper curing, ensure white underbase quality, adjust powder thickness, verify film cleanliness, and maintain consistent temperature and pressure to fix issues like poor adhesion, color bleeding, or misalignment.
Which DTF printing tools are most important for achieving vibrant colors on dark fabrics when making DTF transfers?
Key DTF printing tools include a printer with white ink capability, reliable DTF transfer film, white underbase and color inks, adhesive and curing powders, a powder shaker, a heat press, and PET release sheets. Using these tools with correct color profiles helps produce bright, opaque colors on dark fabrics.
How can you optimize powder curing and white underbase quality in DTF transfers using the right DTF printing supplies?
To optimize results, calibrate heat and time for proper powder curing and ensure a strong white underbase by using accurate powder application and reliable white ink. Rely on precise measuring tools and compatible inks, films, and powders as part of your DTF printing supplies, and run test prints on scrap fabrics to refine parameters and avoid white spots or color gaps.
| Aspect | Key Points |
|---|---|
| What are DTF transfers? | Direct-to-film transfers involve printing on a specialized film, applying bonding powder, curing the powder, and transferring the image to fabric with heat. They offer vibrant color, broad garment options, and strong durability. They provide a forgiving workflow for beginners and emphasize core components like DTF printing supplies and tools. |
| Essential tools and supplies for beginners | DTF printer or converter kit, transfer film and PET release sheets, white underbase and color inks, adhesive and curing powders, powder shaker, heat press, silicone-coated sheets or parchment, cleaning supplies, measuring tools, blank garments, testing substrates, PPE and workspace hygiene. Start with core items and expand over time. |
| Setting up a beginner-friendly workstation | Dedicated, dust-free area; stable humidity and temperature; proper ventilation; logical layout; labeled storage; organized workspace; safety measures like eye protection. |
| Step-by-step beginner setup/workflow | 1) Printer prep and design; 2) Print test image; 3) Apply adhesive powder; 4) Cure powder; 5) Pre-press garment; 6) Transfer pressing; 7) Post-press cooling and removal; 8) Cleaning and storage. |
| Tips for best results | Calibrate color profiles; use proper powder ratios; test on multiple fabrics; verify white underbase; keep film surfaces clean; maintain consistent press parameters; ensure powder is fully cured; store finished transfers properly. |
| Common mistakes and troubleshooting | Poor adhesion (revisit curing); ink pooling/color bleed; peeling after transfer; weak white underbase; misalignment. Use alignment marks, scrap testing, and adjust curing, timing, and temperature. |
| Maintenance and care | Regular cleaning of printers and screens; replace worn components; store powders and films properly; perform calibration checks to maintain color accuracy and heat consistency. |
| Maximizing results and staying current | Stay informed about new films, powders, and ink sets; expand toolkit as you grow; engage with the community; document outcomes to refine your process. |
| Safety and best practices | Use PPE when handling powders; ensure adequate ventilation during curing; keep hot surfaces away from moisture; follow manufacturer instructions for films, powders, and heat presses. |
Summary
Conclusion