A DIY Turkish bath at home can transform your ordinary shower into a ritual of cleansing, warmth, and calm. The Turkish hammam at home experience blends soft heat, mindful self-care, and exfoliating ritual into a compact, spa-like routine. By adapting elements such as steam, exfoliation, and a nourishing oil massage, you can enjoy spa-quality benefits without leaving your bathroom. This guide focuses on creating a calm space, selecting simple tools, and pacing the ritual to suit breathing and comfort. From prepping the room to finishing with hydrating care, the aim is deep cleansing, gentle exfoliation, and a tranquil end to your day.
Or, to reframe it with alternative terms, visualize a hammam-inspired steam cleanse carried out in your own bathroom. This at-home spa concept centers on warm humidity, gentle cleansing, and mindful self-care rather than a replica of a public bath. In line with LSI principles, you can describe it as a Turkish bath ritual at home, a steam-based cleansing routine, or a spa-quality home spa experience that emphasizes exfoliation and hydration. Using these related phrases helps search engines connect the topic to broader ideas while keeping the description clear for readers.
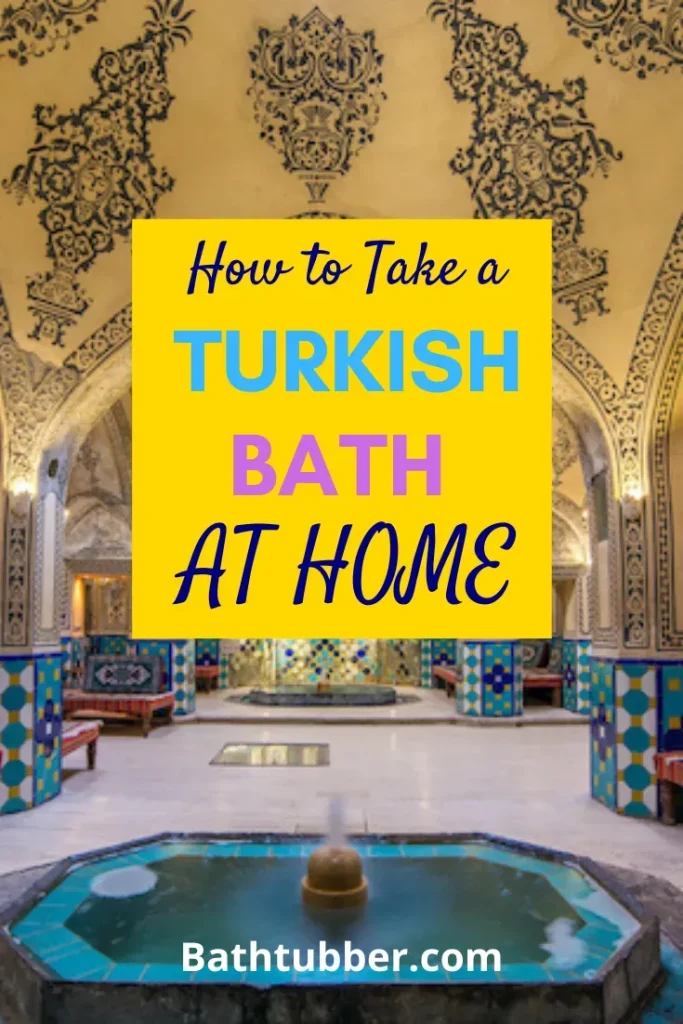
DIY Turkish bath at home: transform your shower into a sacred spa ritual
A DIY Turkish bath at home starts with intention, a warm, inviting space, and the right tools to recreate the hammam mood. You don’t need a full spa setup to capture the essence of the experience—soft heat, gentle steam, and mindful self-care can be achieved with common bathroom gear and a few purposeful additions. Gather items like a kese (exfoliating mitt), a natural cleanser such as savon noir or a mild herbal soap, a hydrating oil or lotion, and a comfortable bench or stool. With these basics, you can begin a ritual that centers the body, quiets the mind, and prepares the skin for deeper care. The goal is to translate the hammam spirit into a home routine that feels luxurious, safe, and entirely doable.
If you’re wondering how to create a Turkish bath at home, start by planning a pace that respects your comfort and time. Set the bathroom temperature to warm rather than hot, ensure good ventilation, and keep water nearby for hydration between steps. A calm mindset is essential—allow the steam to ease tension gradually rather than forcing a rapid sequence. This patient approach mirrors the patience of a traditional hammam and helps you savor the cleansing and exfoliation without overwhelming your senses.
Frequently Asked Questions
What is a DIY Turkish bath at home and how do I start?
A DIY Turkish bath at home recreates the hammam ritual in your bathroom, combining warmth, steam, gentle cleansing, exfoliation, and relaxation. To start, create a warm, well-ventilated space, gather essentials (savon noir or gentle cleanser, a kese or exfoliating mitt, natural oil or lotion, a soft towel, and a bench), keep water nearby, and begin with 15–20 minutes of light steam before cleansing and exfoliating with a gentle touch. If you’re wondering how to create a Turkish bath at home, focus on heat, steam, cleansing, exfoliation, and hydration, then finish with a nourishing massage and rest.
How can I achieve a spa-quality hammam at home?
Aim for a balanced hammam experience by controlling heat and humidity, using high-quality cleanse and exfoliation tools, and following a mindful routine. Steady steam, a traditional kese with gentle exfoliation, thorough rinsing, and a hydrating oil or lotion afterward help recreate spa-quality hammam at home. Pair this with calm ambience, dim lighting, and a brief rest between steps for best results.
What are the essential DIY Turkish bath steps I should follow?
Plan and safety first: set a comfortable temperature, ventilation, and hydration. Then follow these DIY Turkish bath steps: 1) The steam and cleansing phase to open pores, 2) Exfoliation with kese, 3) Rinse and rest, 4) Hydration and oil massage, 5) Wrap and final relaxation, 6) Ambience and aftercare to complete the spa-like experience.
What common mistakes should I avoid during a hammam experience at home?
Avoid overheating or overstaying in steam; don’t rush through steps; don’t scrub aggressively; always hydrate after exfoliation; and steer clear of harsh products. Following gentle pressure, proper timing, and quality products helps protect skin and maximize the hammam benefits.
How can I customize a Turkish hammam at home to fit my space and skin?
Customize by adjusting heat and humidity to your space, choosing skin-friendly cleansers and oils, and deciding on exfoliation intensity. Use a kese or mitt appropriate for your skin type, add light aromatics if desired, and tailor session length and ambience (lighting, music) to your preferences, while keeping the core steps of cleansing, exfoliation, hydration, and relaxation.
| Aspect | Key Points |
|---|---|
| Plan & Safety | Set a comfortable bathroom temperature with good ventilation; stay hydrated; pace the routine. Gather essentials: savon noir or gentle cleanser, kese (exfoliating mitt), natural oil or lotion for after-care, soft towel, bathrobe, a stool, and optional aromatics. If you have a steam setup, tailor humidity/temperature to preference. Aim for spa-quality hammam at home, not a sauna. |
| Steam & Cleansing | Steam for 5–10 minutes to open pores; add essential oils to a diffuser if desired. Rinse with warm water, apply cleanser, and cleanse gently rather than scrubbing aggressively. |
| Exfoliation (Kese) | Use kese mitt with soap; use broad circular strokes on arms, shoulders, back, legs; focus elbows/knees; avoid over-scrubbing sensitive areas. Rinse, reapply soap as needed, then exfoliate tougher areas with firmer pressure; aim to stimulate circulation. |
| Rinse, Rest & Rehydrate | Thoroughly rinse off soap and scrubs; dry gently; rest to allow moisture to settle; calm, balanced sensation as pores close slightly. |
| Hydration & Oil Massage | Apply hydrating oil/lotion while skin is damp; massage toward the heart to boost circulation; optional essential oils; keep fragrance light. |
| Wrap & Final Relaxation | Wrap in a towel or robe for several minutes; hydrate with water or light tea; gradual cool-down; complete the spa-like feel. |
| Ambience & Aftercare | Dim lights, candles, soft music; regulate temperature to avoid overlong humidity. Aftercare: hydrate, avoid hot showers immediately after exfoliation, and give skin time to adjust. |
| Tips & Cautions | Start with shorter sessions (15–20 minutes); gradually increase. Use high-quality, natural products; consult a professional if you have sensitive skin or medical conditions. |
| Benefits | Steam opens pores and enhances moisture; exfoliation improves texture and circulation; mindful pacing reduces stress and promotes relaxation, aiding sleep and mood. |
| Common Mistakes | Overheating or too long in steam; aggressive scrubbing; skipping hydration; using harsh products; ignoring your body’s signals. |
Summary
Table and conclusion follow.